Logging into your AWS account on the web is fairly straightforward: you type in a username and password and you’re done. Logging into your AWS account on the command line—so you can use CLI tools such as aws, terraform, packer, and so on—is much harder. There are several ways to do it, each way requires multiple confusing, error-prone steps—especially if you use multiple AWS accounts or Multi-Factor Authentication—and the error messages are typically obscure and unhelpful.
It’s so bad that “how do I access my AWS account?” is the #1 support ticket we get at Gruntwork. As a solution, we’ve put together a blog post series to walk you through the different ways to authenticate to AWS on the command-line:
- Authenticating to AWS with the Credentials File
- Authenticating to AWS with Environment Variables
- Authenticating to AWS with Instance Metadata
Each mechanism above should work with just about any CLI tool that talks to AWS, including the aws CLI, terraform, packer, and any other tool or app built with the AWS SDK. For each method, we’ll show basic usage, usage with multiple sets of credentials, usage with IAM Roles, usage with Multi-Factor Authentication (MFA), and the pros/cons of each approach.
In this intro to the series, we’ll start with a quick primer on AWS authentication.
Root User
When you create a new AWS account, the email address and password you use become the credentials for the Root User. The Root User has “superadmin” privileges in that AWS account, which means that when you’re logged in as the Root User, you can do just about anything in that account, including bypassing most other security restrictions you put in place. Unfortunately, if a malicious user gets a hold of your Root User credentials, they too can bypass all of your security restrictions.
Therefore, you should:
- Change the root user’s password. We strongly recommend using a secrets manager such as 1Password, LastPass, or pass to create and store a secure, randomly generated password for the Root User (30+ characters).
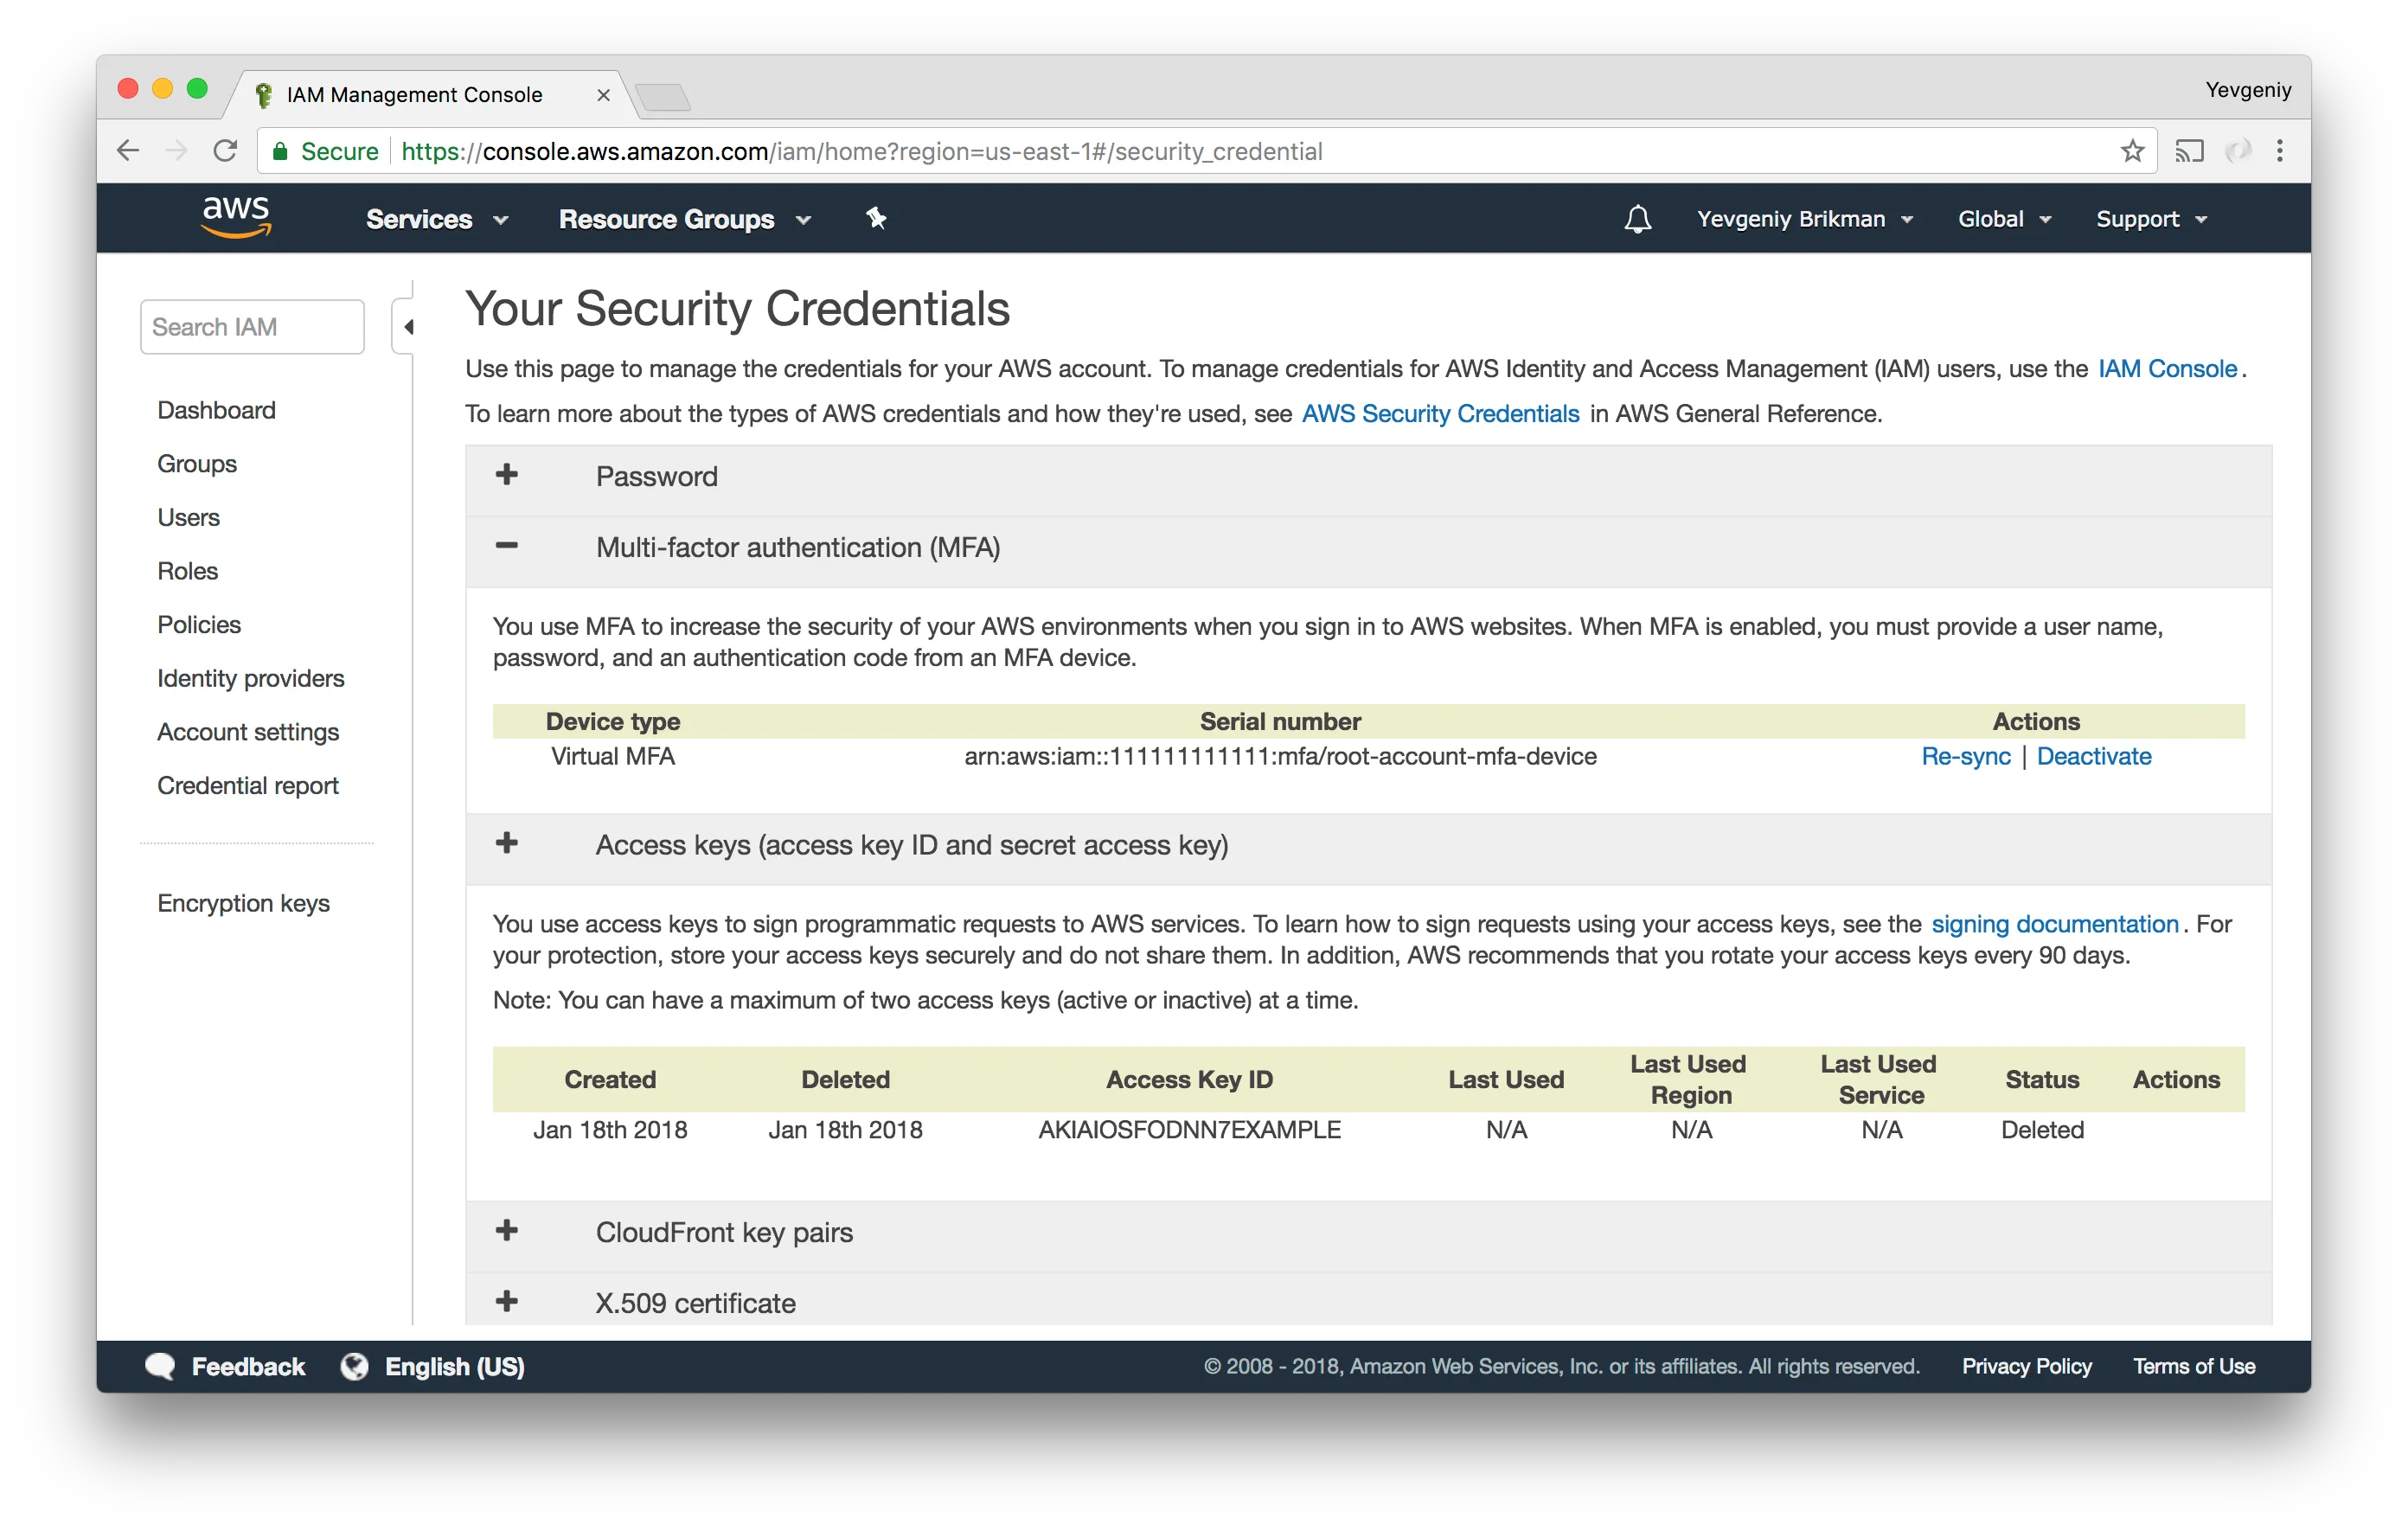
- Enable MFA for the root user.
- Delete the root user’s access keys. The root user account should only be used in an emergency to recover another user’s access or to perform account-level functions that may only be performed by the root user. It should never be used to do day-to-day work.
- Create an IAM User for yourself, as described in the next section.
- From now on, only use the IAM User. Except in very rare cases (e.g., account recovery), you should never use the Root User again.
IAM User
AWS Identity and Access Management (IAM) is what you use to manage all users and permissions in your AWS account (other than the Root User). As the Root User, the main thing you’re going to do is to create an IAM User for yourself:
- Follow the instructions here to create the IAM User.
- Again, we strongly recommend using a secrets manager (i.e., 1Password, LastPass, or pass) to create a secure, randomly generated password for your IAM User.
- Give your IAM User admin permissions.
- Jot down the AWS Web Console sign-in URL for your AWS account. It’ll look something like
https://<id>.signin.aws.amazon.com/console. - Sign out of AWS as the Root User.
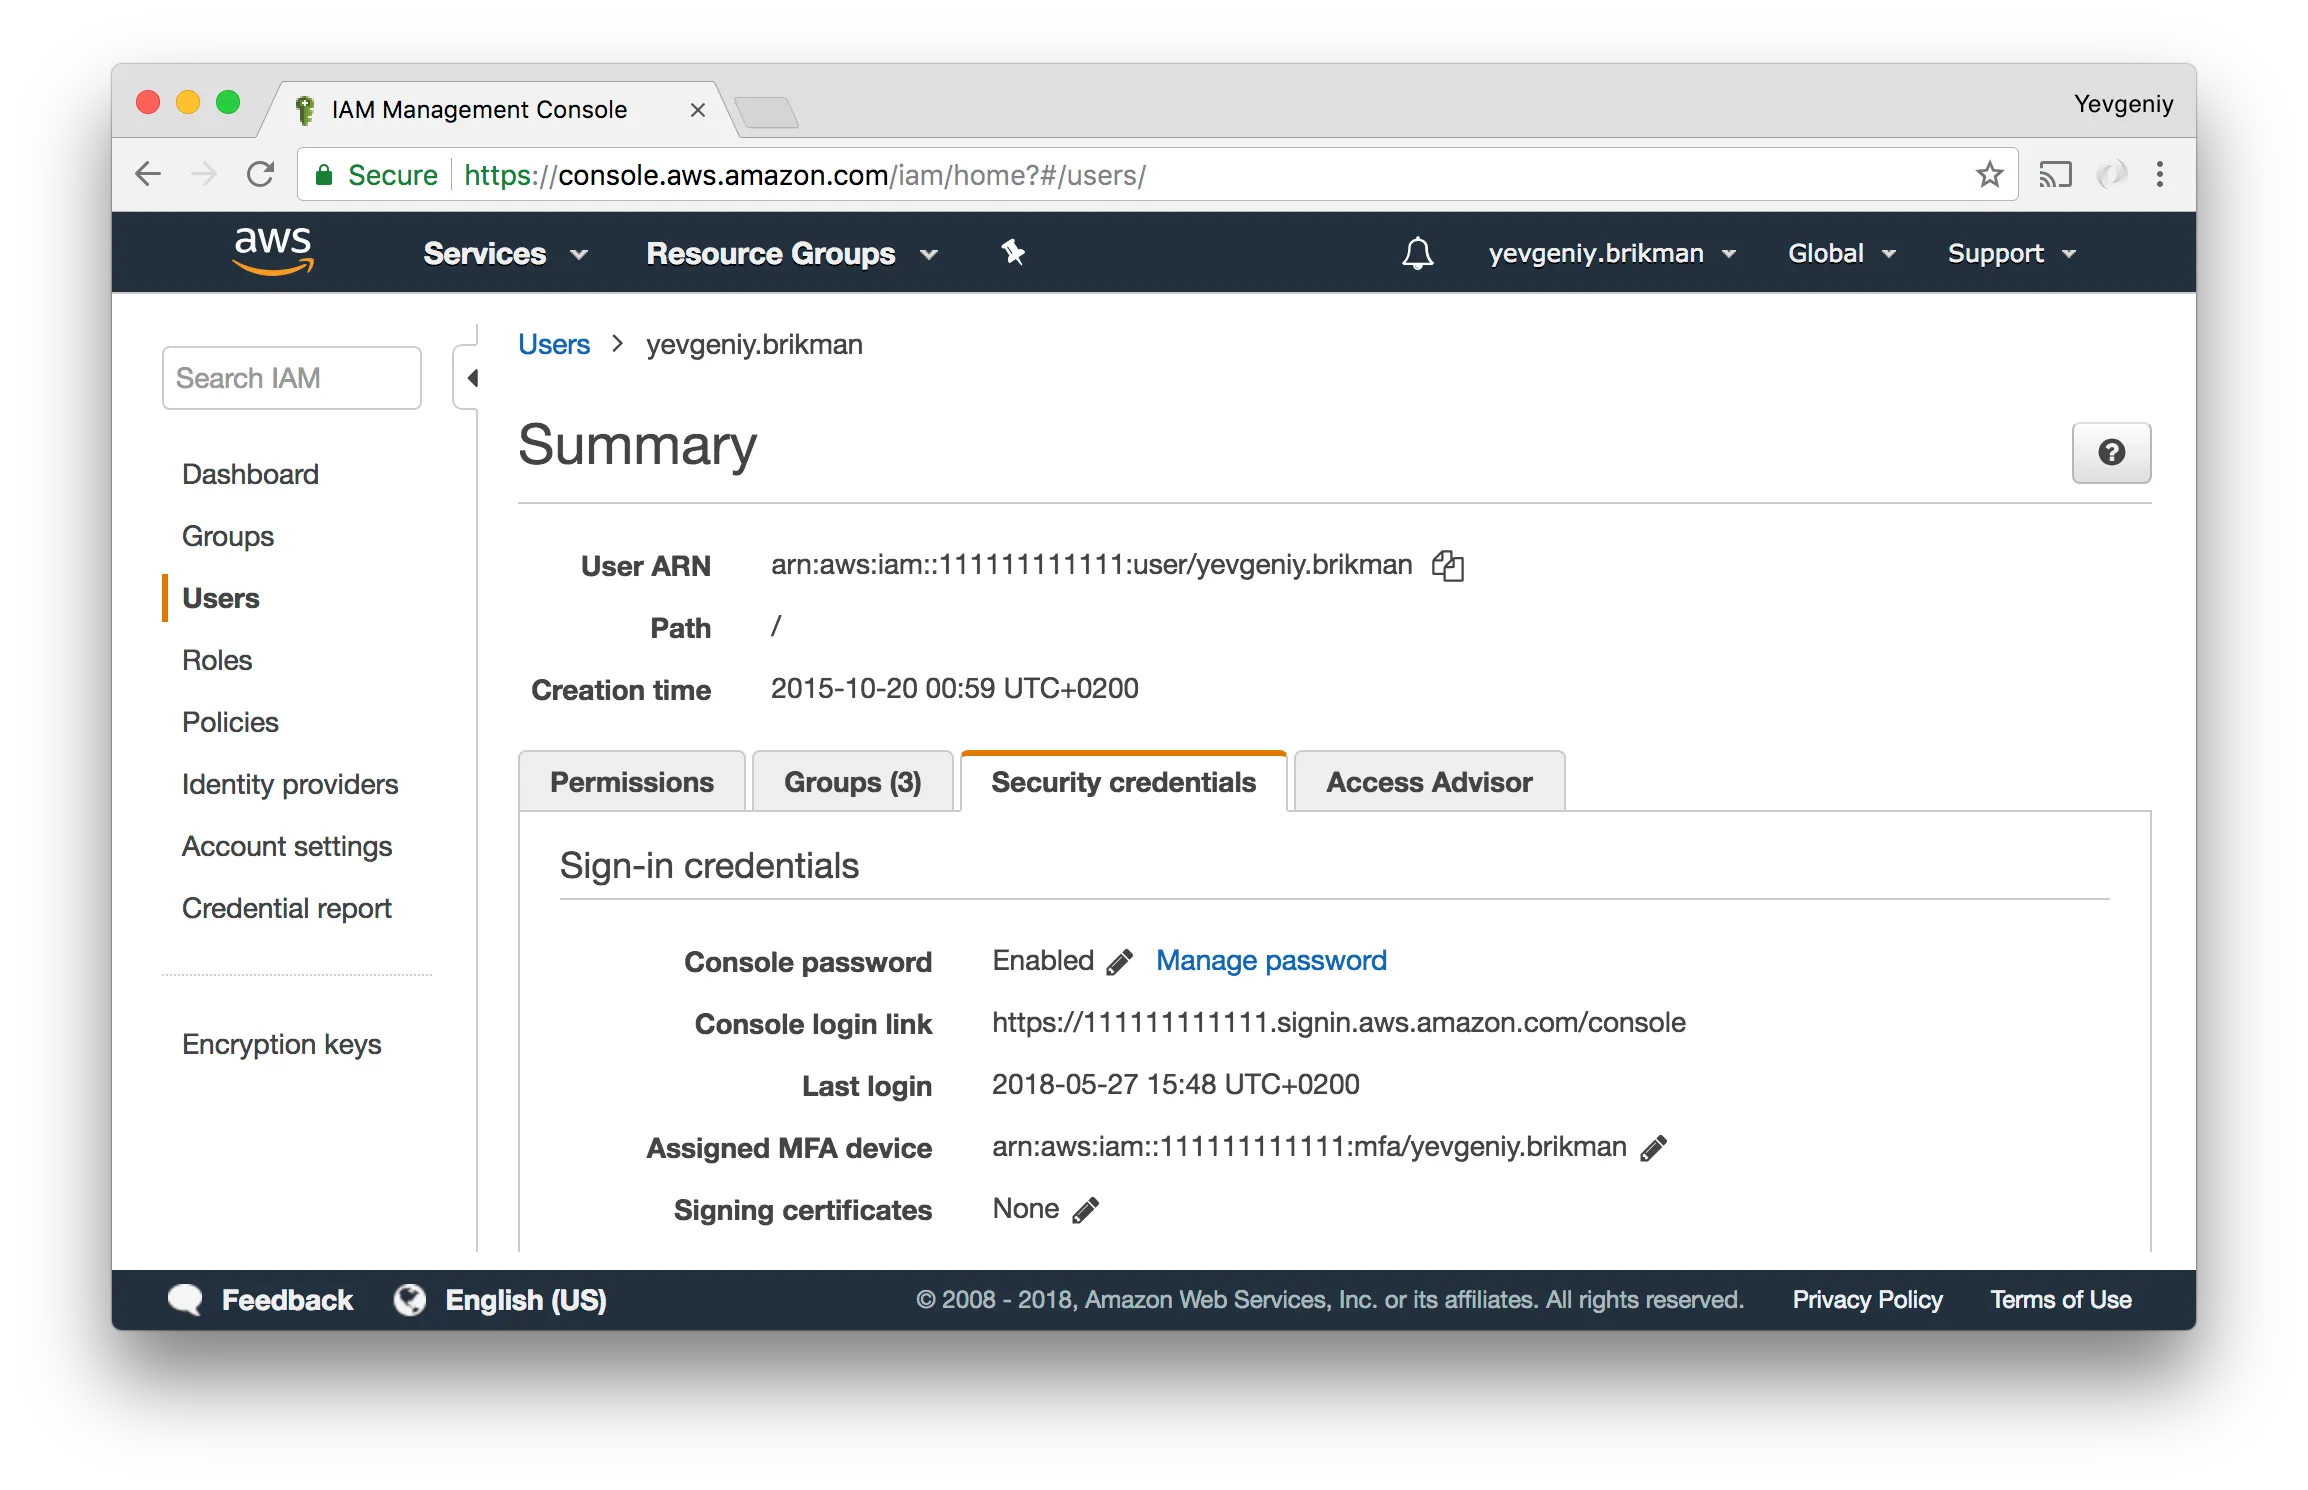
- Go to the AWS Web Console URL you jotted down in step #4 and login as the IAM User you just created.
- Enable MFA for your IAM User.
Multiple AWS Accounts
If you have multiple AWS accounts — one account for dev, one for stage, one for prod, for example — there are two ways you can manage authentication: IAM Users in each account or IAM Users in one account and IAM roles in all the others.
IAM Users in each account
The most obvious option is to go into each of your AWS accounts and create an IAM User in each one. This is easy to set up, but it means you have to manage multiple sets of usernames, passwords, sign-in URLs, MFA tokens, Access Keys, permissions, groups, and so on. It’s tedious, repetitive, and error prone, so we don’t usually recommended it.
IAM Users in one account, IAM roles in the others
The recommended approach for handling multiple AWS accounts is to define all of your IAM Users in one AWS account (e.g., the security account) and to create IAM Roles in all the other AWS accounts (e.g., the dev, stage, and prod accounts). IAM Roles are standalone entities that:
- Can be assumed by IAM Users. You define who can assume the IAM Role via a Trust Policy.
- Can have permissions attached to them. You define the permissions via an IAM Policy.
For example, you can create an IAM Role in your dev account called dev-full-access and allow this IAM Role to be assumed form the security account, which has account ID 111111111111, using the following Trust Policy:
{
  "Version": "2012-10-17",
  "Statement": [
    {
      "Effect": "Allow",
      "Principal": { "AWS": "arn:aws:iam::111111111111:root" },
      "Action": "sts:AssumeRole"
    }
  ]
}
Next, you can give that IAM Role certain permissions, such as full access to everything in the dev account, via the following IAM Policy:
{
  "Version": "2012-10-17",
  "Statement": [
    {
      "Effect": "Allow",
      "Resource": "*",
      "Action": "*"
    }
  ]
}
Now, in the security account, you can give certain IAM Users the following IAM permissions to allow them to assume the dev-full-access role in the dev account, which has account ID 222222222222:
{
  "Version": "2012-10-17",
  "Statement": {
    "Effect": "Allow",
    "Action": "sts:AssumeRole",
    "Resource": "arn:aws:iam::222222222222:role/dev-full-access"
  }
}
Using these Cross-Account IAM Roles takes a little more work to set up, but it’s a more secure option, as it allows you to have just a single set of IAM Users (and credentials, and sign-in URLs, and MFA tokens) and provides more fine-grained control over IAM permissions. See Delegate Access Across AWS Accounts Using IAM Roles for more details and module-security in the Infrastructure as Code Library for Terraform code to create these cross-account IAM roles automatically.
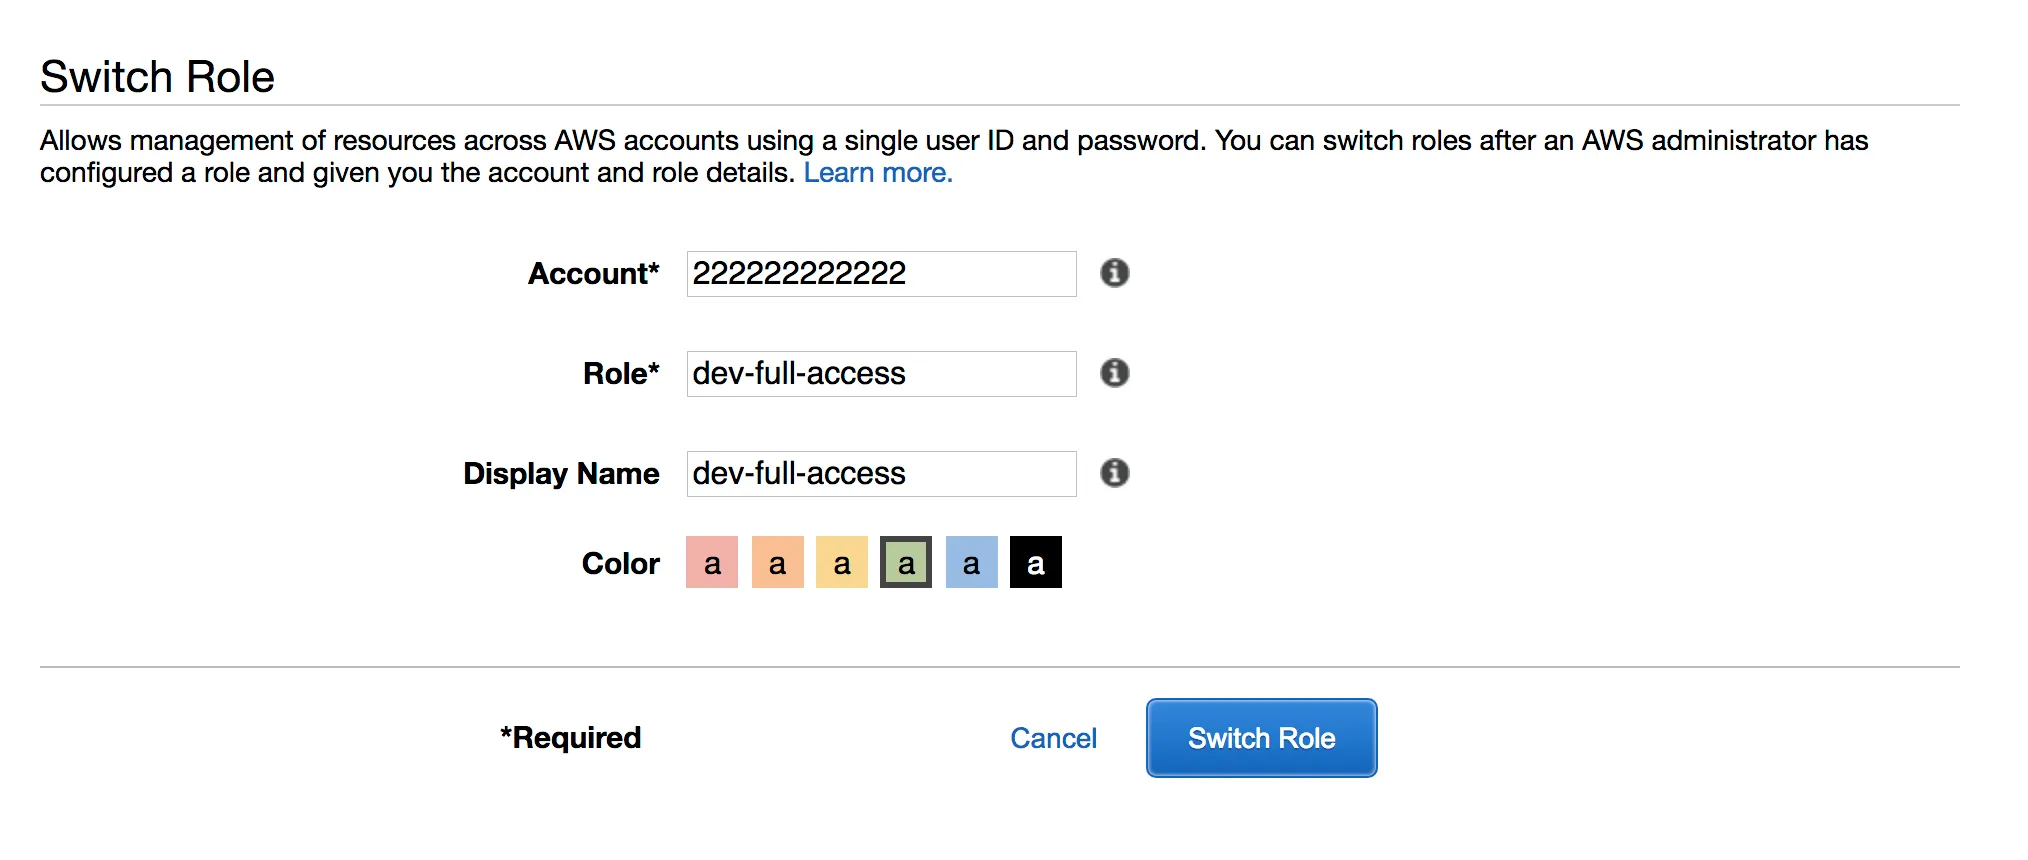
Once these cross-account IAM Roles are configured, to login to the AWS Web Console of the dev account, you first login to your IAM User in the security account, and then switch roles to access the dev account:
To authenticate to the dev account on the CLI with cross-account IAM Roles is a bit more complicated. We’ll go over the different ways to do this later in this blog post series.
Multi-Factor Authentication
When creating your Root User and IAM User, we strongly**** recommend that you enable Multi-Factor Authentication (MFA). Once you do so, to login, you’ll need not only your username and password, but also a time-based password from the Google Authenticator app on your phone or a hardware key fob. This makes it significantly harder for attackers to break into your AWS account, as they’ll not only need to steal your credentials, but also your phone or key fob.
As soon as you enable MFA, all future logins to the AWS Web Console will require an MFA token. Unfortunately, the same requirement is not automatically applied to CLI logins. It’s a good idea to require MFA everywhere, which you can do for the current account via an IAM Policy. If you are using Cross-Account IAM Roles, you can require that the IAM User has an MFA Token as part of the Trust Policy by adding a Condition clause:
{
  "Version": "2012-10-17",
  "Statement": [
    {
      "Effect": "Allow",
      "Principal": { "AWS": "arn:aws:iam::111111111111:root" },
      "Action": "sts:AssumeRole"
      "Condition": {
        {"BoolIfExists": {"aws:MultiFactorAuthPresent": true }}
      }
    }
  ]
}
We’ll discuss the different ways to enter an MFA token when authenticating via the CLI in future parts of this blog post series.
Access keys
Now that you can login to the AWS Web Console, we can start talking about how to authenticate to your AWS account on the command-line. Key point: to authenticate to AWS on the command-line, you do NOT use the username and password from the AWS Console.
Instead, for most of the CLI authentication mechanisms we’ll discuss in this blog post series, you will need a pair of Access Keys:
- The Access Key ID, which looks like this:
AKIAIOSFODNN7EXAMPLE. - The Secret Access Key, which looks like this:
wJalrXUtnFEMI/K7MDENG/bPxRfiCYEXAMPLEKEY.
Here’s what you need to do:
- Login to the AWS Web Console as your IAM User.
- Create a set of Access Keys for your IAM User.
- Save those Access Keys to your secrets manager (i.e., 1Password, LastPass, or pass).
Authenticating to AWS on the CLI
OK, with all the AWS authentication basics out of the way, let’s now dive into the blog post series to see how you can use your Access Keys to authenticate to AWS on the CLI:
- Authenticating to AWS with the Credentials File
- Authenticating to AWS with Environment Variables
- Authenticating to AWS with Instance Metadata
Get your DevOps superpowers at Gruntwork.io


- No-nonsense DevOps insights
- Expert guidance
- Latest trends on IaC, automation, and DevOps
- Real-world best practices